
Build an AI Agent with Python and LangGraph (Step-by-Step Tutorial)
Build an AI agent as a LangGraph graph: typed state, a calculator and a live weather tool, a tool-calling loop you can actually draw, and memory that survives between messages. Full runnable code, step by step.
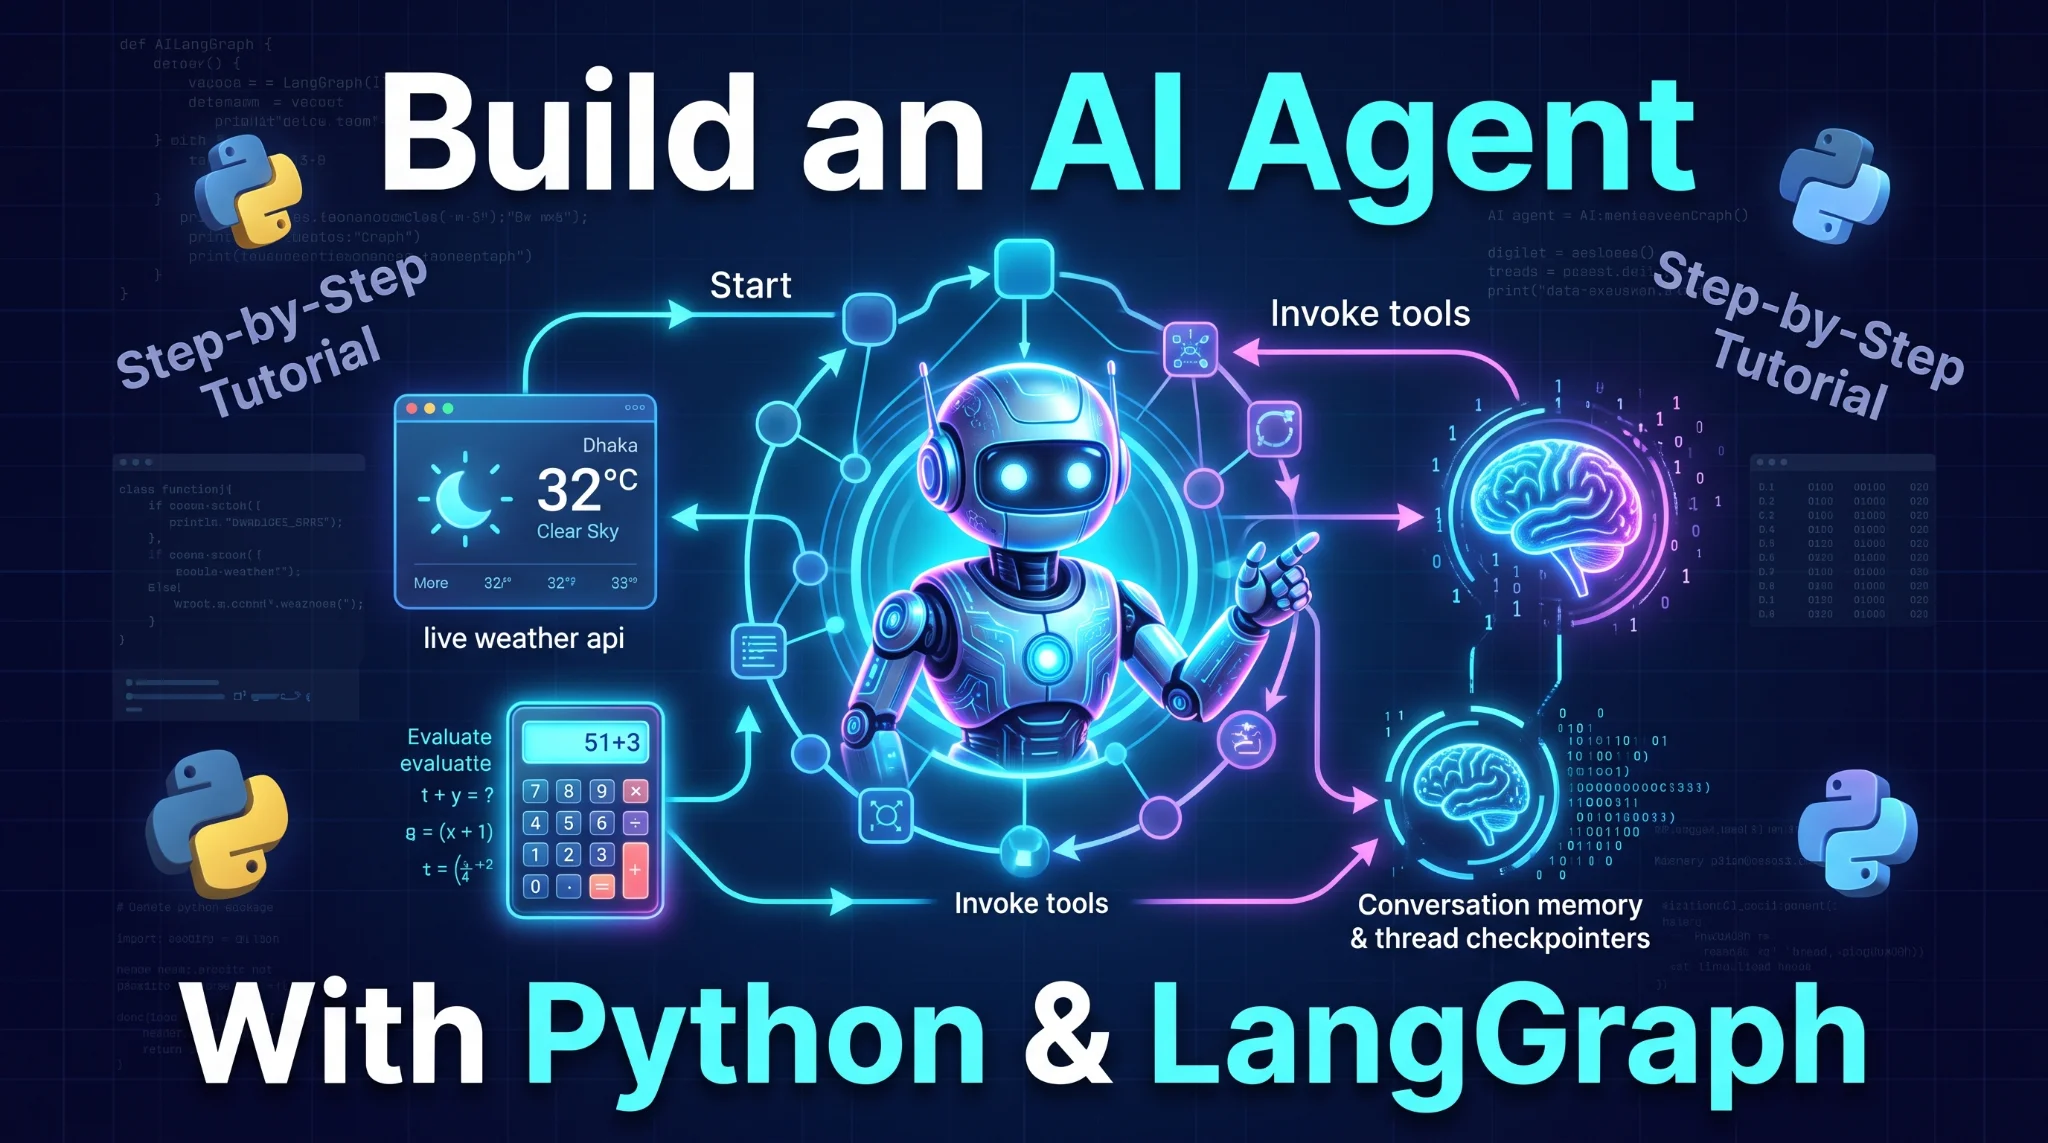
Table of Contents11 sections
Every AI agent is built around a loop: the model decides what to do, a tool runs, the result goes back to the model, and the cycle repeats until the task is done. You can write that loop by hand, and for a small agent it works. But the moment your agent grows, the hand-written loop starts to hurt. Where does the conversation state live? How do you pause the agent and resume it tomorrow? How do you see, at a glance, what the agent is allowed to do next?
LangGraph is the framework that answers those questions. Instead of hiding the loop, it makes the loop explicit as a graph: nodes that do work, edges that decide where to go next, and a state object that flows through all of it. In this tutorial you will build an agent, a model with a calculator and a live weather tool, as a LangGraph graph, and give it memory that persists between messages.
By the end you will have a single Python file, about 120 lines, that runs a real agent. Ask it for the weather in Dhaka and it calls a live weather API. Ask a follow-up question and it remembers what it told you. No magic, and every piece is visible in the code.
Why LangGraph instead of a hand-written loop?
Three reasons matter in practice:
- The flow is a picture. Your agent's possible paths are drawn from the graph definition. When something misbehaves, you can print the graph and read the logic instead of tracing nested function calls.
- State is a first-class citizen. Everything the agent knows lives in one typed state object, and LangGraph handles updating it. No global lists passed around by hand.
- Checkpointing is built in. Add one checkpointer and LangGraph saves the state after every step, keyed by a thread ID. That gives you conversation memory now, and pause-and-resume or human approval steps later, almost for free.
If you only ever need a five-line loop, plain Python is fine. If the agent is going to grow, LangGraph is where most Python teams land, which is why it sits at the top of our frameworks comparison.
Prerequisites
- Python 3.10 or newer
- An OpenAI API key. LangGraph is model-agnostic, so you can swap in Anthropic, Google, or a local Ollama model later; only the model line changes.
- About 40 minutes and a terminal
- Helpful but not required: our beginner guide to what AI agents are, if the agent loop idea itself is new to you
Cost note: we use gpt-4o-mini. The full demo below makes a handful of small calls and costs a fraction of a cent. The weather API (Open-Meteo) is free and needs no key.
Project setup
mkdir langgraph-agent && cd langgraph-agent
python -m venv venv
source venv/bin/activate        # Windows: venv\Scripts\activate
pip install langgraph langchain-openai requests grandalf
export OPENAI_API_KEY="sk-your-key-here"
grandalf is optional. It only powers the ASCII graph drawing in Step 5, but install it now so nothing breaks later. Never commit your API key to git; the environment variable is enough for a tutorial.
Create agent.py in this folder and build it piece by piece as we go; the complete file is printed at the end.
Step 1: Define the state
Everything in LangGraph revolves around state. For a chat agent, the state is the conversation: a list of messages that grows as the agent works.
from typing import Annotated, TypedDict
from langgraph.graph.message import add_messages


class State(TypedDict):
    messages: Annotated[list, add_messages]
Two new ideas hide in these four lines.
First, the state is just a typed dictionary. LangGraph does not force a class hierarchy on you; you declare the fields your agent needs, and later you can add more (a user ID, a budget counter, a plan) without rewriting anything.
Second, add_messages is a reducer. When a node returns new messages, LangGraph does not replace the list; the reducer appends the new messages to the existing ones. This one annotation is what turns separate node outputs into one continuous conversation, and it is the piece beginners most often miss. Without it, every node would overwrite the history and the agent would forget everything between steps.
Step 2: Give the agent two tools
Tools are ordinary Python functions with a @tool decorator. The decorator reads the function name, type hints, and docstring, and turns them into the schema the model uses to decide when and how to call the tool. Write honest docstrings. The model reads them.
The calculator is a deliberately guarded one:
from langchain_core.tools import tool


@tool
def calculator(expression: str) -> str:
    """Evaluate a basic arithmetic expression, e.g. '23 * 19 + 5'."""
    allowed = set("0123456789+-*/(). ")
    if not set(expression) <= allowed:
        return "Error: only basic arithmetic is allowed."
    try:
        return str(eval(expression))
    except Exception as e:
        return f"Error: {e}"
eval on model output is dangerous in general, so the character whitelist is not decoration. The model can only ever produce digits and arithmetic symbols, never code. Keep this pattern for any tool you write: validate first, execute second.
The second tool fetches live weather from Open-Meteo, a free weather API that needs no signup and no key. It works in two calls: geocode the city name into coordinates, then fetch the current conditions for those coordinates.
import requests


WEATHER_CODES = {
    0: "clear sky", 1: "mainly clear", 2: "partly cloudy", 3: "overcast",
    45: "foggy", 48: "foggy", 51: "light drizzle", 53: "drizzle",
    55: "dense drizzle", 61: "light rain", 63: "rain", 65: "heavy rain",
    71: "light snow", 73: "snow", 75: "heavy snow", 80: "light showers",
    81: "showers", 82: "heavy showers", 95: "thunderstorm",
}


@tool
def get_weather(city: str) -> str:
    """Get the current weather for a city, e.g. 'Dhaka'."""
    geo = requests.get(
        "https://geocoding-api.open-meteo.com/v1/search",
        params={"name": city, "count": 1},
        timeout=10,
    ).json()
    if not geo.get("results"):
        return f"Could not find a place called {city}."
    place = geo["results"][0]
    forecast = requests.get(
        "https://api.open-meteo.com/v1/forecast",
        params={
            "latitude": place["latitude"],
            "longitude": place["longitude"],
            "current": "temperature_2m,relative_humidity_2m,weather_code",
        },
        timeout=10,
    ).json()
    now = forecast["current"]
    conditions = WEATHER_CODES.get(now["weather_code"], "unknown conditions")
    return (
        f"{place['name']}, {place.get('country', '')}: {conditions}, "
        f"{now['temperature_2m']} C, humidity {now['relative_humidity_2m']}%."
    )
Notice what the tool returns on failure: a sentence, not an exception. The model reads tool results, so "Could not find a place called Dhaka" gives it something useful to react to, while a crashed stack trace would end the run. Return explanations from tools, raise exceptions almost never.
Step 3: Write the agent node
A node is a function that takes the state and returns a partial update to it. The agent node does one thing: hand the conversation to the model and append whatever the model says.
from langchain_openai import ChatOpenAI


tools = [calculator, get_weather]

llm = ChatOpenAI(model="gpt-4o-mini", temperature=0)
llm_with_tools = llm.bind_tools(tools)


def agent_node(state: State) -> dict:
    response = llm_with_tools.invoke(state["messages"])
    return {"messages": [response]}
The important line is bind_tools. Without it, the model has never heard of your tools and will happily answer weather questions from its training data instead of calling the API. With it, the model's response is sometimes plain text ("here is your answer") and sometimes a structured tool request ("call get_weather with city Dhaka"). Both come back in the same response object. Deciding what to do with each kind is the graph's job, which is the next step.
Step 4: Wire the graph
Now connect the pieces. You need two nodes (the agent, and a prebuilt node that executes tool calls), a starting edge, one conditional edge, and one edge that loops tool results back to the agent.
from langgraph.graph import START, StateGraph
from langgraph.prebuilt import ToolNode, tools_condition


builder = StateGraph(State)
builder.add_node("agent", agent_node)
builder.add_node("tools", ToolNode(tools))

builder.add_edge(START, "agent")
builder.add_conditional_edges("agent", tools_condition)
builder.add_edge("tools", "agent")
Read it as a flowchart:
- Every run starts at the
agentnode. - After the agent speaks,
tools_conditioninspects its message. If the model requested a tool, route to thetoolsnode. If it answered in plain text, the run ends. - After a tool runs, go straight back to the
agent, so the model can read the tool result and decide the next move. That loop, agent to tools to agent, is the core loop inside every agent. LangGraph just makes it a declared structure instead of control flow buried in awhileloop.
ToolNode is prebuilt because tool execution is always the same work: read the tool calls from the last message, run them, wrap the results as tool messages, append them to the state. You could write it yourself in twenty lines, and for learning it is worth knowing that is all it does.
Finally, compile the graph. This is also where the checkpointer goes in:
from langgraph.checkpoint.memory import InMemorySaver


app = builder.compile(checkpointer=InMemorySaver())
The checkpointer saves the state after every step under a thread ID. InMemorySaver keeps it in RAM, perfect for a tutorial. In production you would swap in the SQLite or Postgres checkpointer and the rest of your code would not change at all. This one object is the difference between an agent that forgets you between messages and one that holds a conversation.
Step 5: Run it and watch it think
Add a small runner. Every call passes the same thread_id, which is how LangGraph knows these three messages belong to one conversation:
from langchain_core.messages import HumanMessage


config = {"configurable": {"thread_id": "demo-1"}}


def chat(text: str) -> None:
    result = app.invoke({"messages": [HumanMessage(text)]}, config=config)
    print(result["messages"][-1].content)


if __name__ == "__main__":
    app.get_graph().print_ascii()
    chat("What is the weather in Dhaka right now?")
    chat("How many degrees warmer is that than 25 degrees? Use the calculator.")
    chat("Which city did I just ask about?")
Run it:
python agent.pyFirst, the graph draws itself (this is the grandalf moment):
        +-----------+
        | __start__ |
        +-----------+
               *
               *
               *
          +-------+
          | agent |
          +-------+*
          .         *
        ..           **
       .               *
+---------+         +-------+
| __end__ |         | tools |
+---------+         +-------+
Then the conversation. Your numbers will differ, weather is weather, but the shape will match:
It is currently clear sky in Dhaka, Bangladesh, at 32.3 C with 43% humidity.
That is 7.3 degrees warmer than 25 degrees.
You asked about Dhaka.
Look at what each line proves:
- Line 1: the model called
get_weatherinstead of guessing. Real tool use, live data. - Line 2: the model remembered the temperature from the previous turn, then called the calculator on it. Memory plus a second tool, in one question it could not have answered from the new message alone.
- Line 3: no tool needed, and the model answered from the conversation history. That is the checkpointer doing its job. Change the
thread_idbetween calls and this line fails, which is a good experiment to run once.
The complete file
Everything above, assembled. This is the version to keep:
from typing import Annotated, TypedDict

import requests
from langchain_core.messages import HumanMessage
from langchain_core.tools import tool
from langchain_openai import ChatOpenAI
from langgraph.checkpoint.memory import InMemorySaver
from langgraph.graph import START, StateGraph
from langgraph.graph.message import add_messages
from langgraph.prebuilt import ToolNode, tools_condition


# ---------- State ----------

class State(TypedDict):
    messages: Annotated[list, add_messages]


# ---------- Tools ----------

@tool
def calculator(expression: str) -> str:
    """Evaluate a basic arithmetic expression, e.g. '23 * 19 + 5'."""
    allowed = set("0123456789+-*/(). ")
    if not set(expression) <= allowed:
        return "Error: only basic arithmetic is allowed."
    try:
        return str(eval(expression))
    except Exception as e:
        return f"Error: {e}"


WEATHER_CODES = {
    0: "clear sky", 1: "mainly clear", 2: "partly cloudy", 3: "overcast",
    45: "foggy", 48: "foggy", 51: "light drizzle", 53: "drizzle",
    55: "dense drizzle", 61: "light rain", 63: "rain", 65: "heavy rain",
    71: "light snow", 73: "snow", 75: "heavy snow", 80: "light showers",
    81: "showers", 82: "heavy showers", 95: "thunderstorm",
}


@tool
def get_weather(city: str) -> str:
    """Get the current weather for a city, e.g. 'Dhaka'."""
    geo = requests.get(
        "https://geocoding-api.open-meteo.com/v1/search",
        params={"name": city, "count": 1},
        timeout=10,
    ).json()
    if not geo.get("results"):
        return f"Could not find a place called {city}."
    place = geo["results"][0]
    forecast = requests.get(
        "https://api.open-meteo.com/v1/forecast",
        params={
            "latitude": place["latitude"],
            "longitude": place["longitude"],
            "current": "temperature_2m,relative_humidity_2m,weather_code",
        },
        timeout=10,
    ).json()
    now = forecast["current"]
    conditions = WEATHER_CODES.get(now["weather_code"], "unknown conditions")
    return (
        f"{place['name']}, {place.get('country', '')}: {conditions}, "
        f"{now['temperature_2m']} C, humidity {now['relative_humidity_2m']}%."
    )


tools = [calculator, get_weather]


# ---------- Agent node ----------

llm = ChatOpenAI(model="gpt-4o-mini", temperature=0)
llm_with_tools = llm.bind_tools(tools)


def agent_node(state: State) -> dict:
    response = llm_with_tools.invoke(state["messages"])
    return {"messages": [response]}


# ---------- Graph ----------

builder = StateGraph(State)
builder.add_node("agent", agent_node)
builder.add_node("tools", ToolNode(tools))

builder.add_edge(START, "agent")
builder.add_conditional_edges("agent", tools_condition)
builder.add_edge("tools", "agent")

app = builder.compile(checkpointer=InMemorySaver())


# ---------- Run ----------

config = {"configurable": {"thread_id": "demo-1"}}


def chat(text: str) -> None:
    result = app.invoke({"messages": [HumanMessage(text)]}, config=config)
    print(result["messages"][-1].content)


if __name__ == "__main__":
    app.get_graph().print_ascii()
    chat("What is the weather in Dhaka right now?")
    chat("How many degrees warmer is that than 25 degrees? Use the calculator.")
    chat("Which city did I just ask about?")
One note on the API key: ChatOpenAI reads OPENAI_API_KEY from the environment automatically, so no extra code is needed. If you prefer a .env file, load it with python-dotenv before the model line.
Common errors and fixes
The agent answers from memory instead of calling the weather tool. You almost certainly forgot bind_tools, or you are invoking the raw llm inside the node instead of llm_with_tools. The model cannot call tools it has never been told about.
The agent forgets everything between chat() calls. The thread_id is missing or different on each call. Memory lives under the thread ID; no thread ID, no memory. Check that every invoke gets the same config.
GraphRecursionError: Recursion limit of 25 reached. Your agent is looping forever, usually because a tool keeps returning something the model cannot use, so it calls the tool again. Print the messages after a run and read what the tool actually returned. Nine times out of ten the tool result is confusing, empty, or an error sentence the model keeps retrying against.
Tool name or argument mismatch errors from ToolNode. The model invented a tool name or sent the wrong argument type. Tighten the docstring and type hints. The schema the model sees comes from those two places and nowhere else.
grandalf import error when drawing the graph. print_ascii() needs the optional grandalf package. Either pip install grandalf or delete that one line. The agent itself does not need it.
Recap and where to go next
You built a LangGraph agent with the four pieces every agent needs: a typed state with a message reducer, tools the model can actually call, a graph that loops between thinking and acting, and a checkpointer that gives the whole thing memory, all on a structure that can grow from here.
Natural next steps, in order:
- Swap the model. Change one line to use Claude, Gemini, or a local Ollama model and confirm nothing else moves. That is the payoff of the model-agnostic design.
- Persist for real. Replace
InMemorySaverwith the SQLite checkpointer so conversations survive a restart. - Add a human approval step. LangGraph can pause the graph before a sensitive tool runs and wait for a person to approve it. This is the feature that makes LangGraph a serious production choice.
- Go multi-agent. When one agent with many tools gets unwieldy, split it into a supervisor and specialists. Our multi-agent research assistant guide builds exactly that on top of this foundation.
If you are still deciding whether LangGraph is the right framework for your project, the frameworks comparison walks through how it stacks up against CrewAI, the OpenAI Agents SDK, and the rest.
Want one practical agent tutorial like this in your inbox every week? Join the agentic.bd newsletter below. And if you build something with this code, send it in. Community projects from Bangladesh get featured in the AI in Bangladesh section.